photo q1_zpscd9da648.png  photo dot_zpsb8876eec.png  photo q2_zps95da3dae.png  photo dot_zpsb8876eec.png  photo q3_zps747c53f9.png  photo dot_zpsb8876eec.png  photo q6_zps32c3ba5d.png  photo dot_zpsb8876eec.png  photo q4_zpse6214d9c.png  photo dot_zpsb8876eec.png  photo q5_zps8a7bdd1d.png

Tuesday 31 December 2013

A Year of Finishes - 2013

2013 is over, and although I should be reflecting on a year of progress, I'm freaking out a little about all the stuff I DIDN'T FINISH!!! But I will stop freaking out and share with you a collage I made of almost everything I did finish...


As for all those other things, I guess they will have to go on next year's collage!!! Happy New Year! 

Saturday 21 December 2013

Christmas Quilt

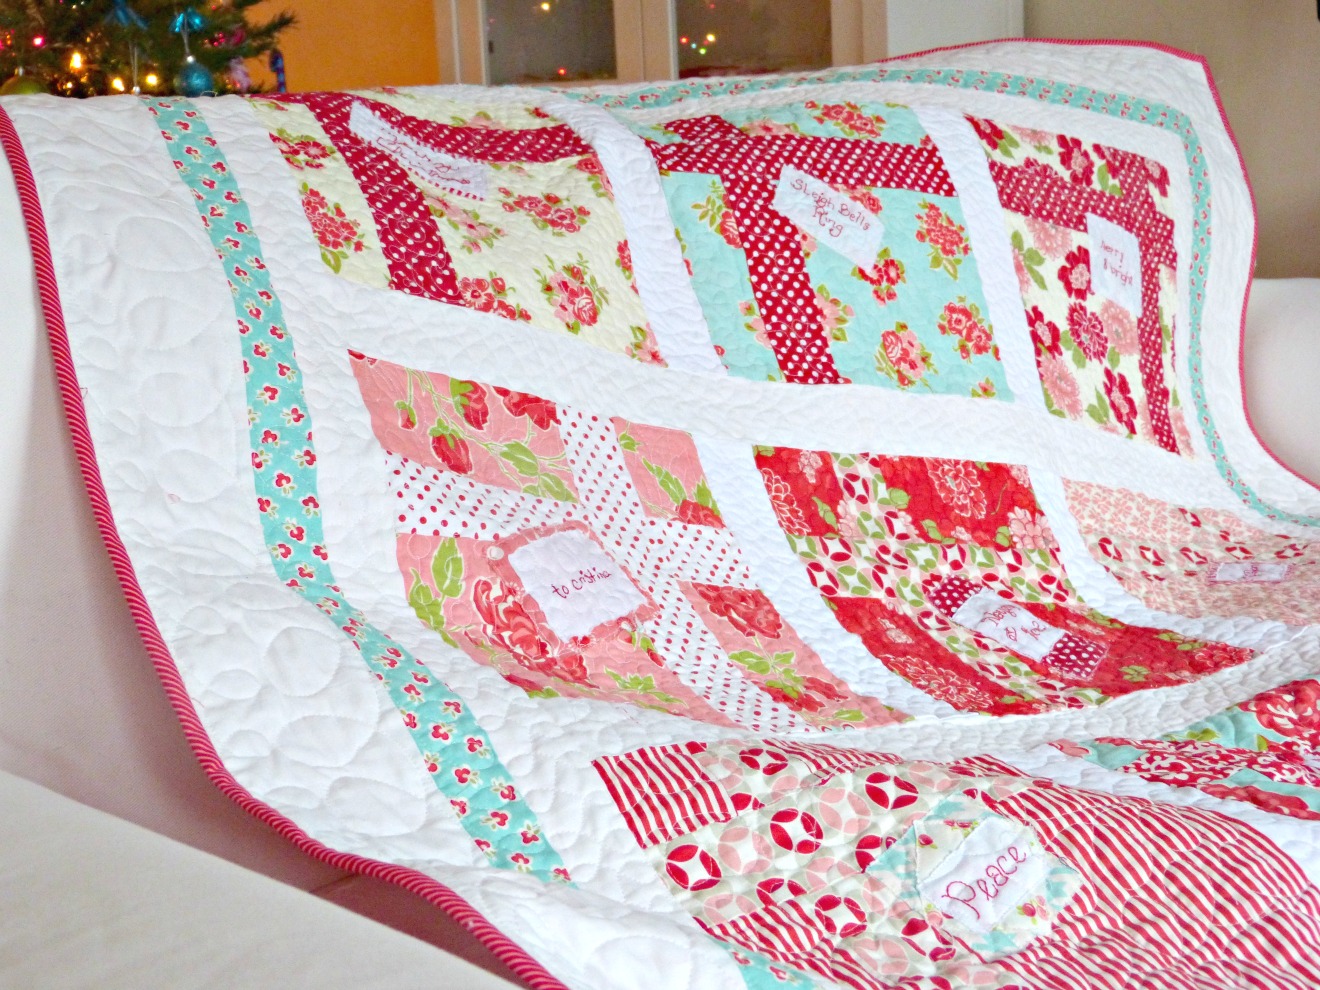
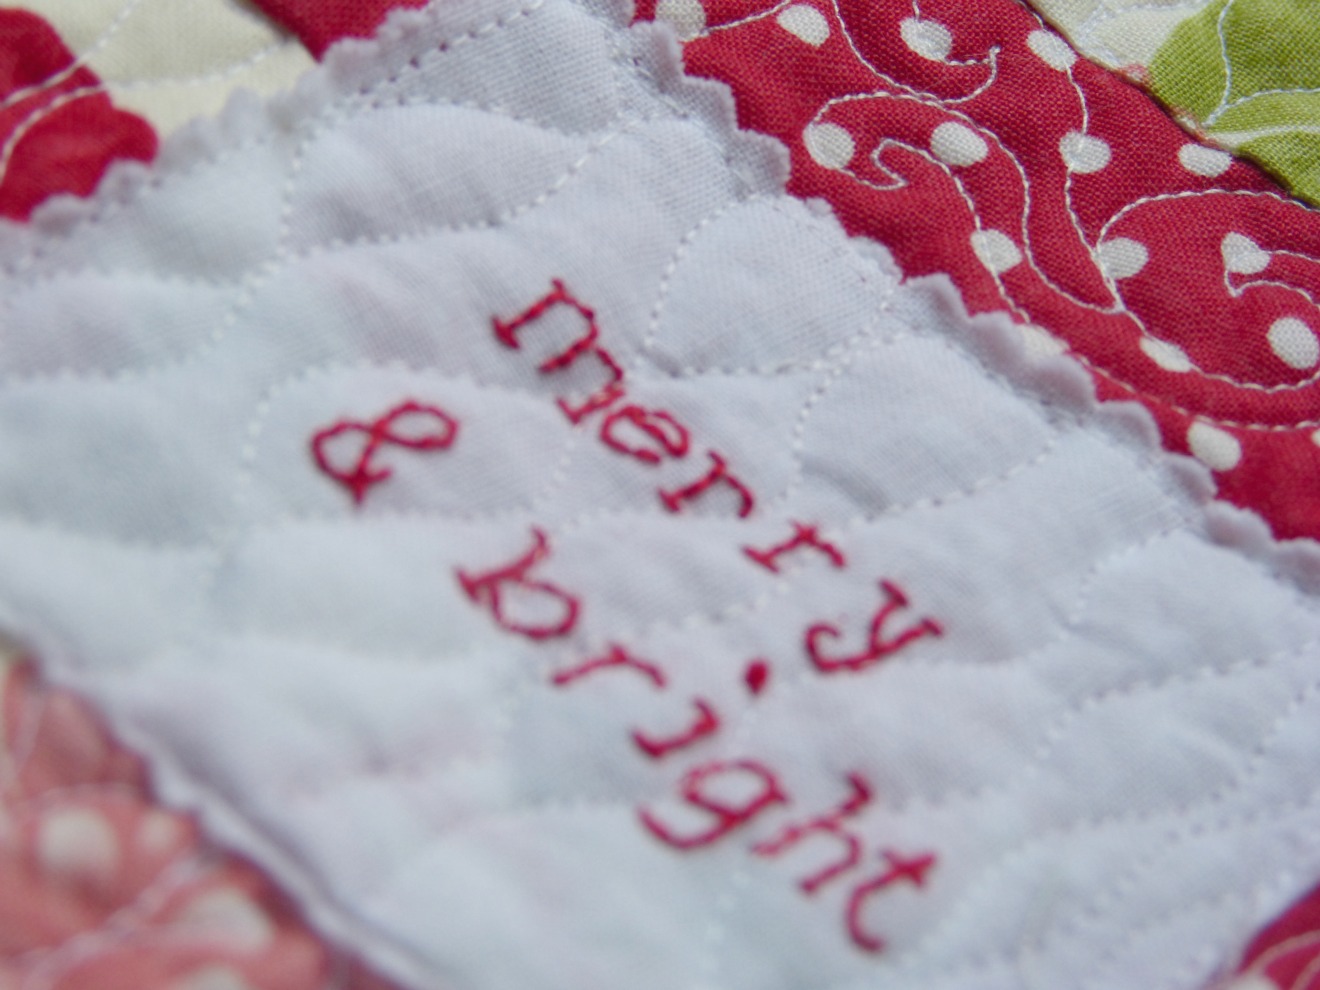
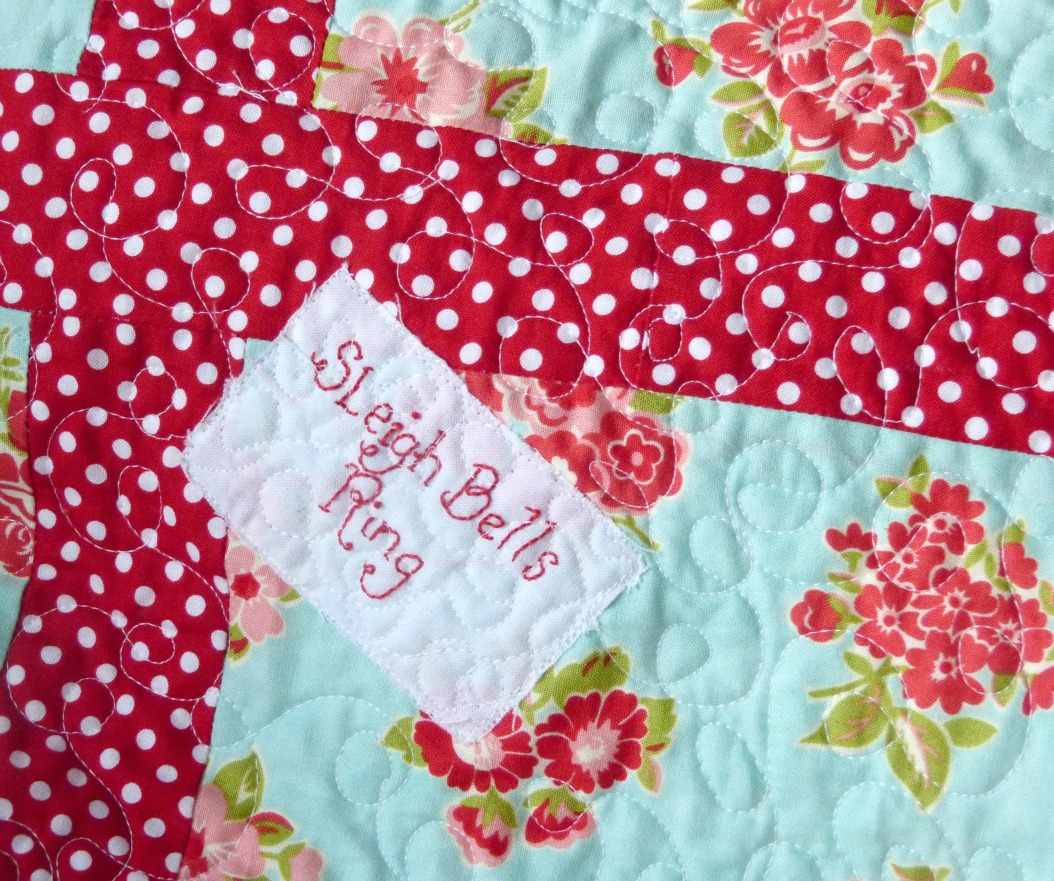
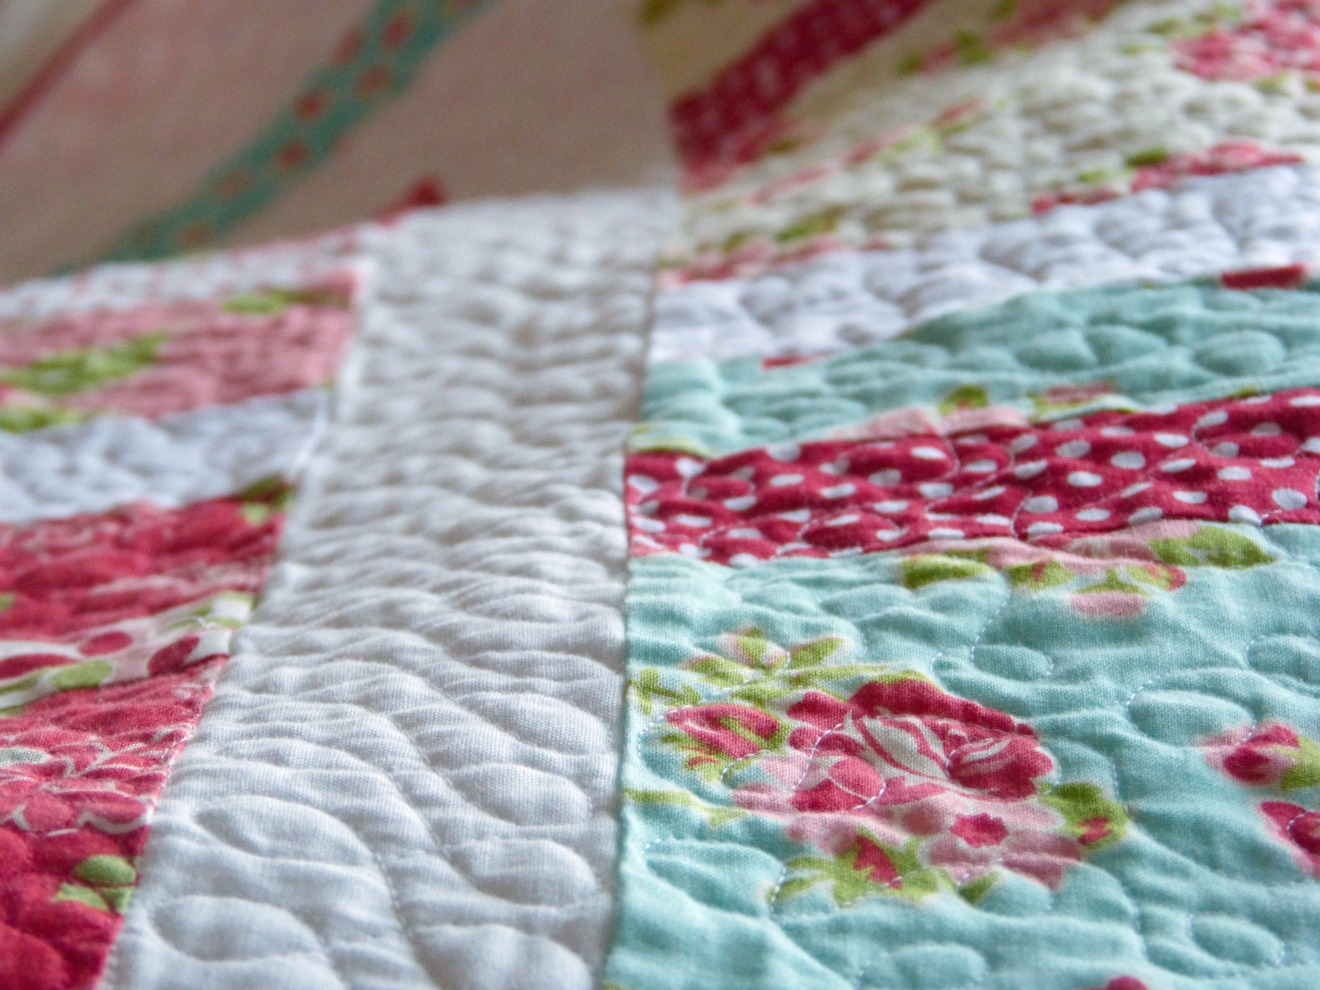
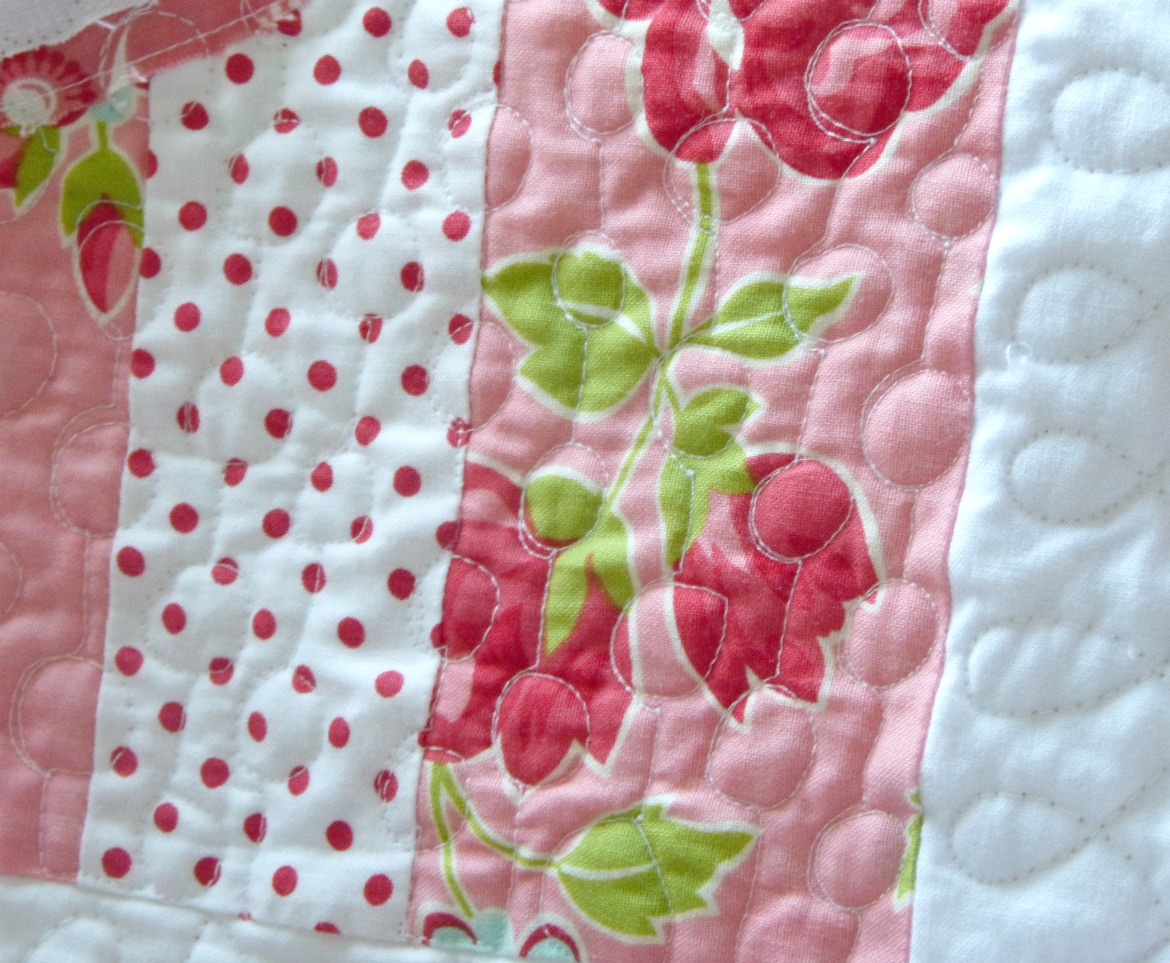
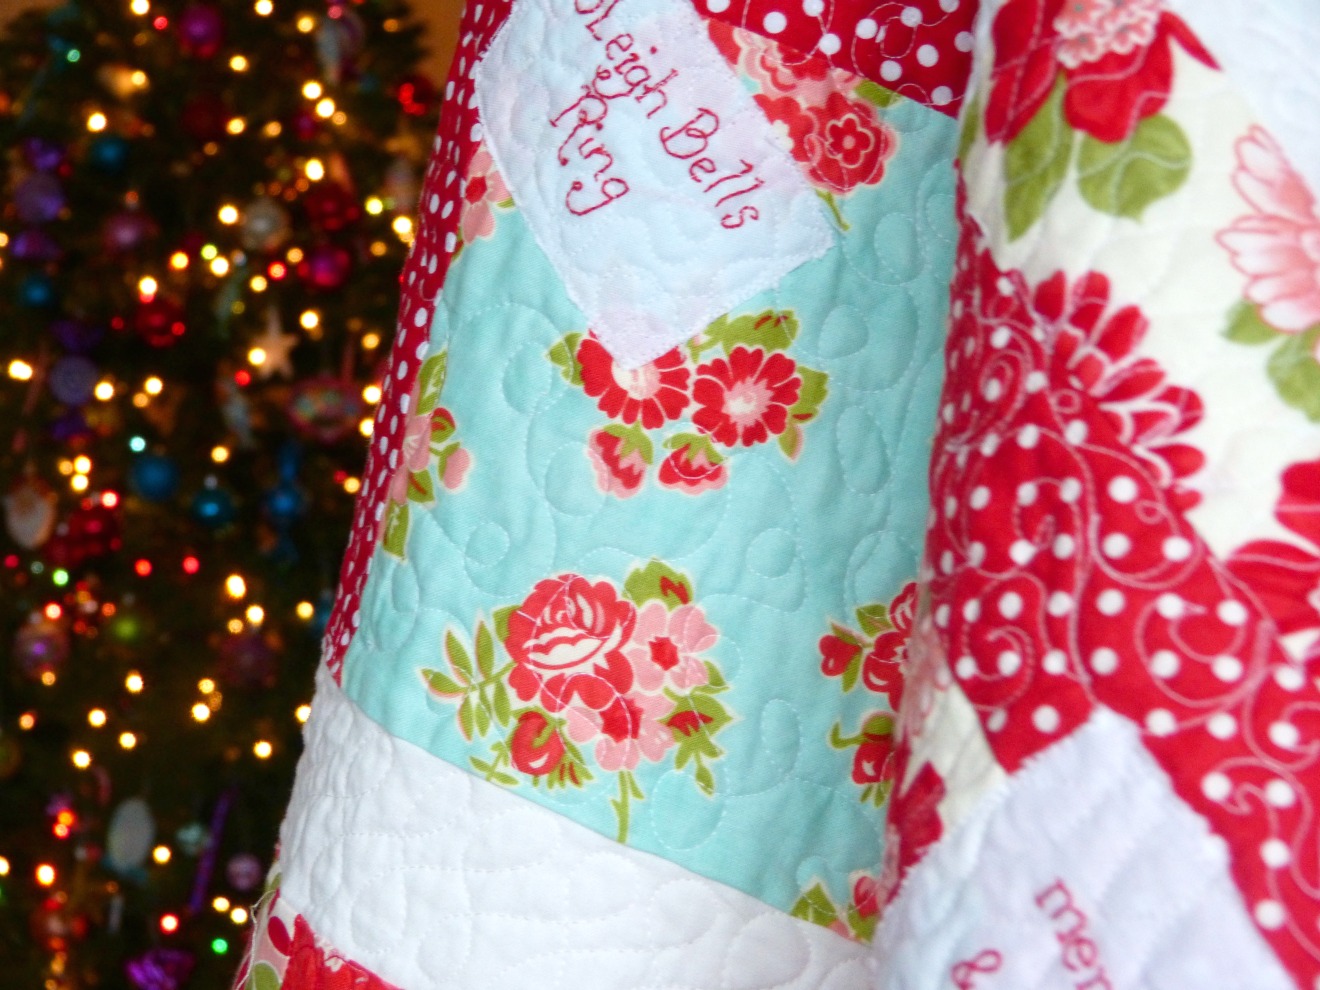
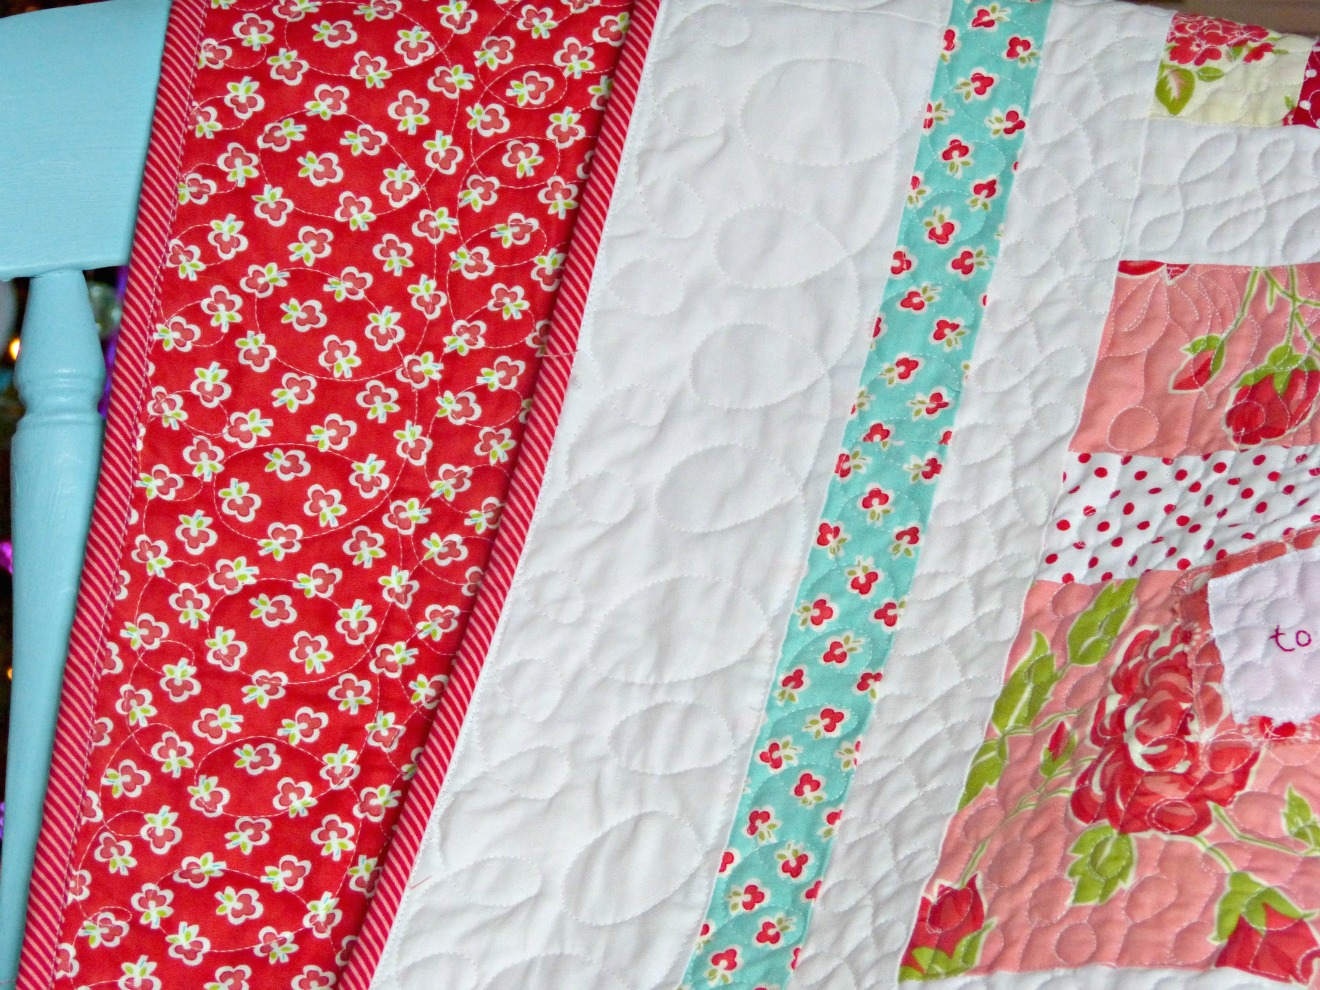
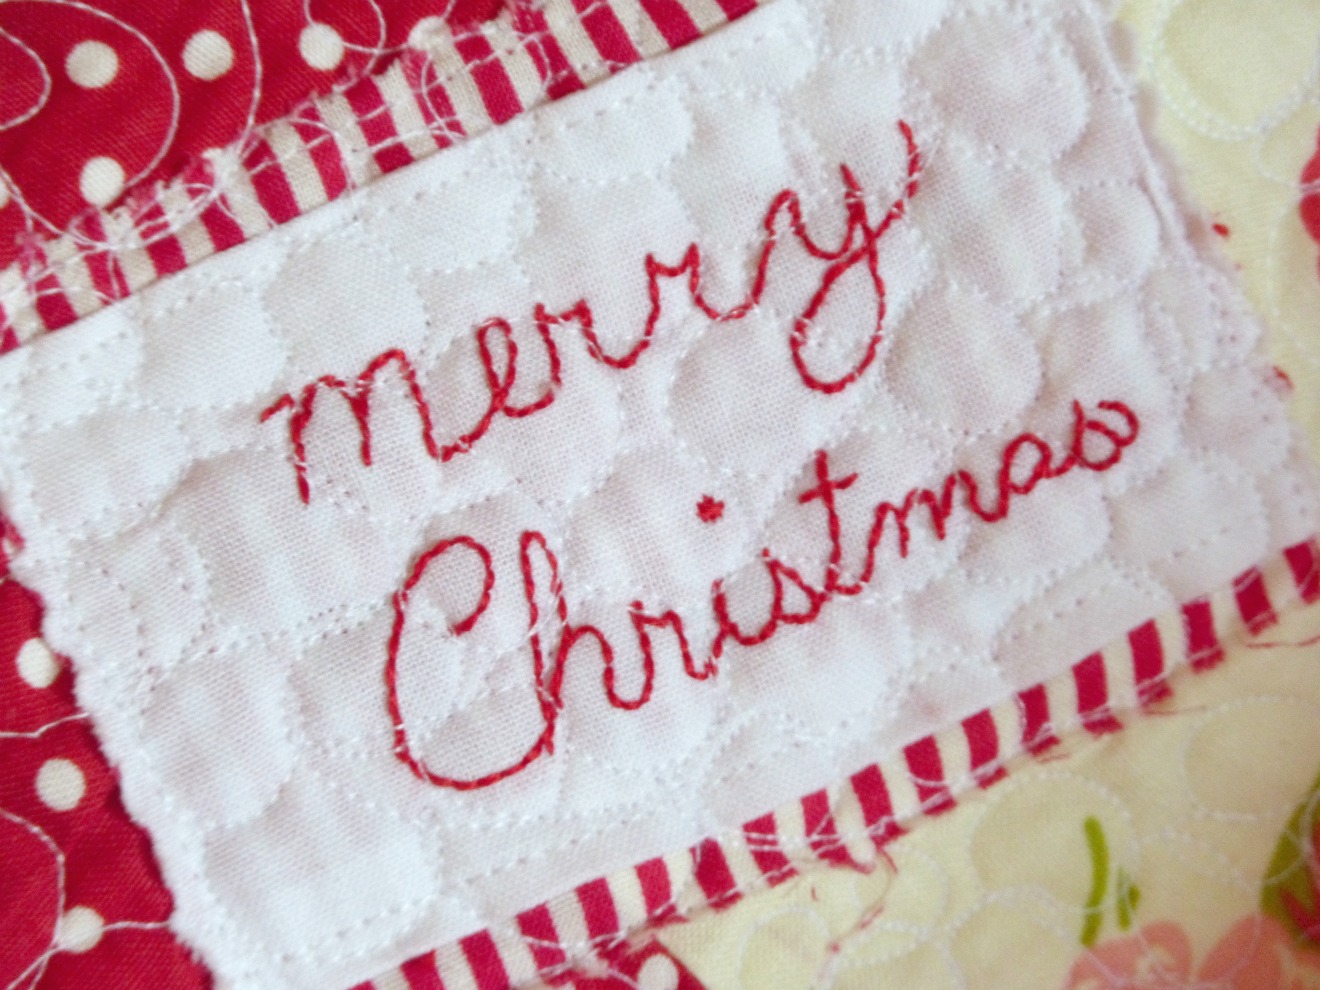
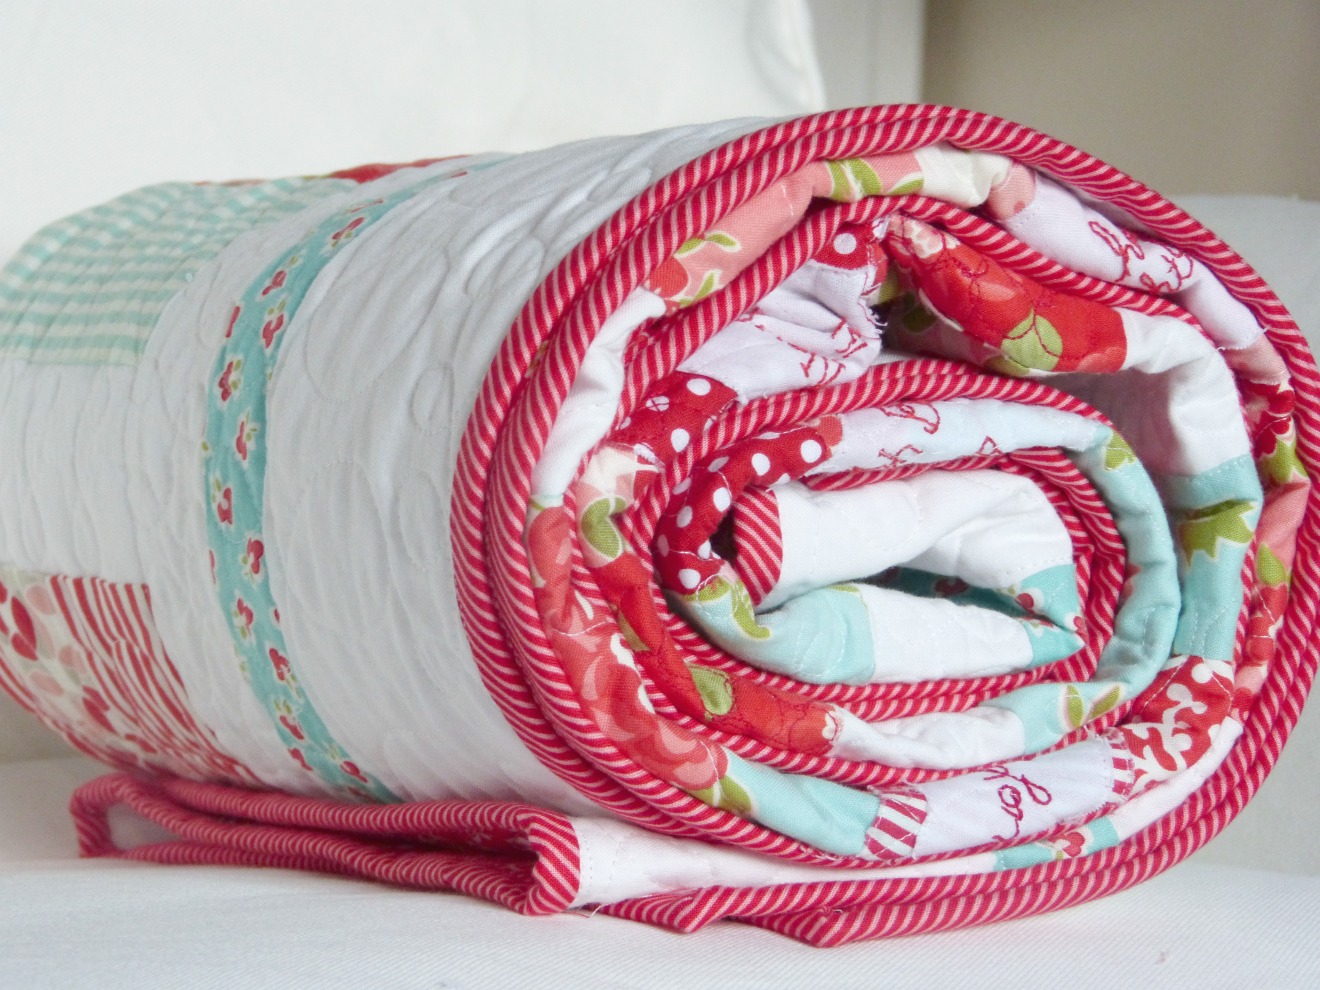
It's only a few days until Christmas, and I wanted to share with you my Christmas quilt (that I just finished a few days ago) and a poem written by By Dessie Nichols titled "A Week After Christmas".


christmas quilt


'Twas the week after Christmas and all through the house
Not a creature was stirring, not even her spouse
The quilting frame had replaced the tree by the stair,
In hopes she'd not be disturbed, as she quilted there.


christmas quilt


Outside the flurries of snow from the sky,
Made not a sound as they floated by.
The needle also made not a sound
As through the quilt it slid up and down.


christmas quilt


When out from the kitchen there arose such a clatter;
She flew out of her chair to see what was the matter.
There in his longjohns, stood a sleepy-eyed spouse,
Grumbling, "Why can't I find something to eat in this house?


christmas quilt


A knock on the door gave them both a fright
Who'd be calling at this time of night
They opened the door, and what a surprise!
A very weary-looking Santa stood before their eyes.


christmas quilt


"I know it's past Christmas, and you think I'm out of my mind,
But I'd like one of your quilts, if you'd be so kind.


christmas quilt


"You see I'm ashamed," he said with a pause,
"But I forgot a present for Mrs. Santa Claus."


christmas quilt


"Sir, please help me 'cause you must know how I feel,
A woman can make a man feel like a number one heel."


christmas quilt


The lady smiled, and turned with a grin,
Returned with a quilt, and handed it cheerfully to him.


Christmas quilt


"Here, Dear Santa, is my latest creation."
And she gave it to him without hesitation.
"the Quilting is good, and the colors quite nice,
""I want her to enjoy it; there will be no price."


P1010571


"Thank you and God Bless. I knew quilters were great!"
"now I must hurry, as the time is quite late"
And they heard him exclaim, as he turned to depart,
"Only a quilter would have such a big heart."  --


Christmas Quilt Roll

I hope everyone has a very Merry Christmas and a Happy New Year!!!


Linking up at Crazy Mom Quilts for Finish it up Friday
and
Confessions of  a Fabric Addict

Sunday 8 December 2013

Strawberry Pincushion Swap

A couple of months ago I participated in a Strawberry Pincushion Swap hosted by Erin at Why Not Sew? Quilts.

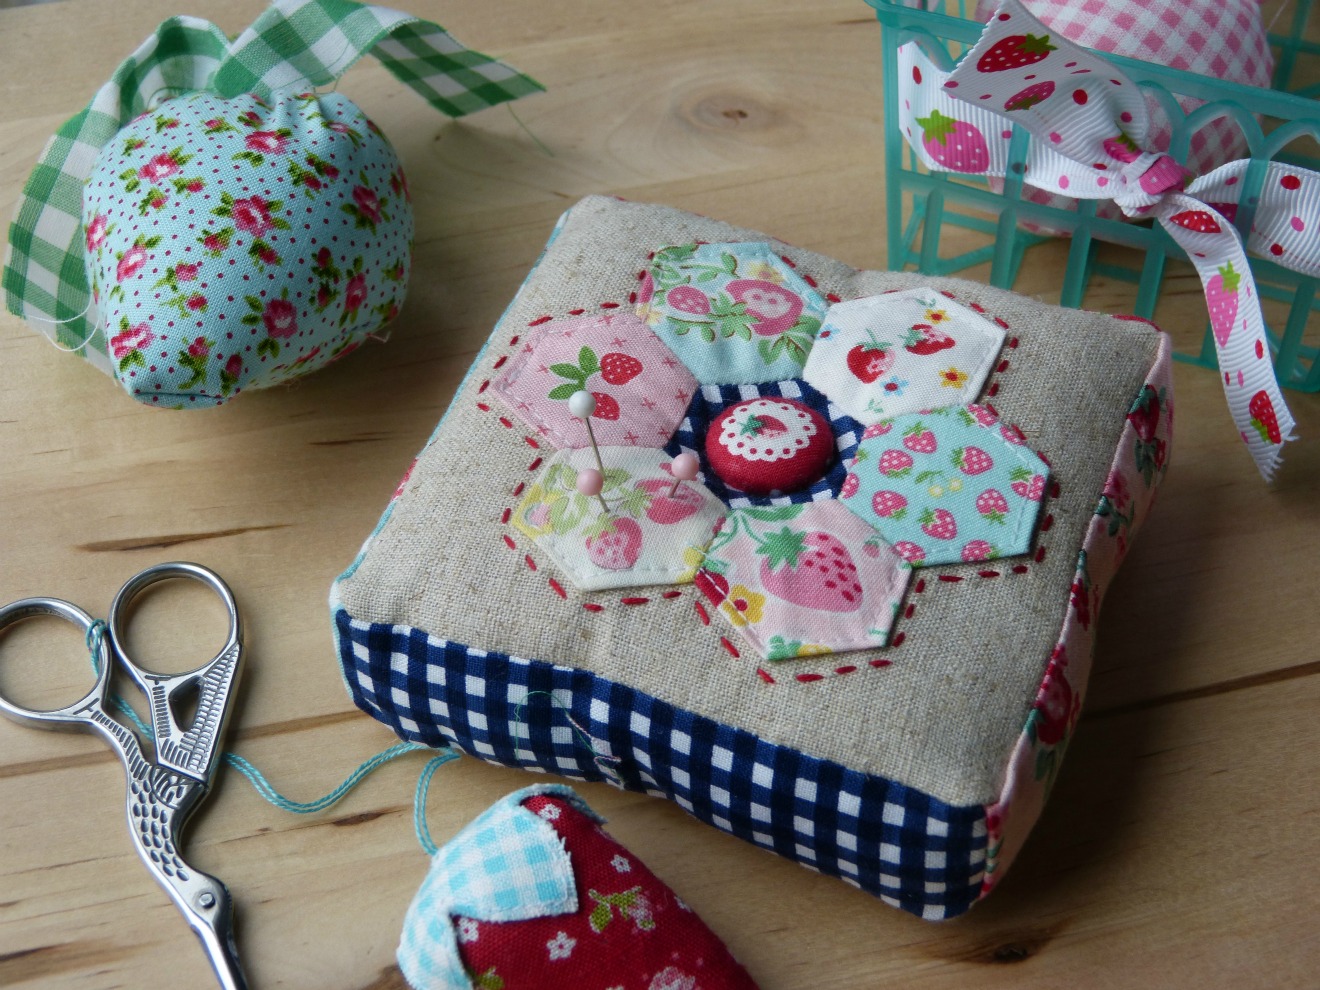
I received the cutest little bundle from Kerri at Lovely Little Handmades. Kerri makes the cutest stuff, and I was so happy to get something made by her.

strawberry pincushion swap


Everything is so pretty, and I LOVE those little scissors--I use them everyday. And that hexagon pincushion is so cute I can't even bring myself to use it! She added a couple of strawberry pincushions, a fat quarter of strawberry fabric (frustrated that I didn't add it to the picture), and it all came bundled in a cute strawberry basket. It was just too cute for words.

My partner was Jodi at Pleasant Home and I put together a little bundle for her.  I have been a follower of Jodi's since I started quilting, and was a little nervous for her to get something I made. I was behind the deadline and was up late putting it all together, and since I had to work the next day I knew I wouldn't get any good pictures of it and snapped this really bad photo just to keep a record of what I did.

Strawberry pincushion


When Jodi received it she was generous enough to allow me to use the pics she took to use for my blog (thank you Jodi!). She is the nicest person, makes some amazing quilts, and she is an awesome photographer. Look at this one compared to mine above--


Her picture makes it look like it belongs in a magazine!! I'm so envious.

Anyway, I really had so much fun participating in this swap--I really wished there could have been a round 2. I guess I'm going to have a find some more swaps to participate in:)

Sunday 1 December 2013

Sunday Stash


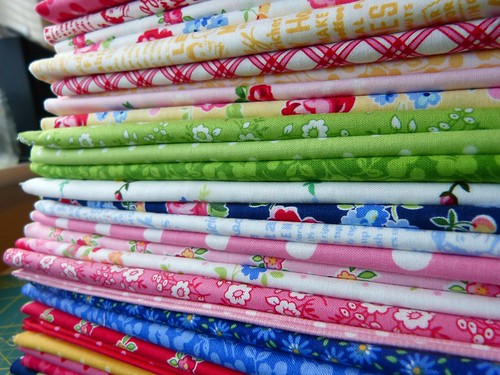
pam kitty stacker

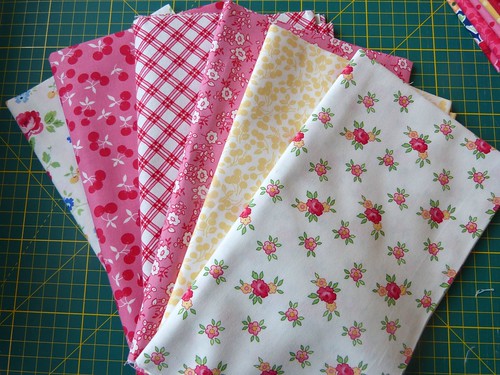
Okay, so I went a little crazy. A couple of weeks ago, when Pam Kitty Picnic was released, I decided that buying the fat quarter bundle wasn't economical because I might've gotten stuck with 2 or 3 prints that I didn't need, so why pay for those, right? So in a deranged state of mind--with a coupon in hand--I decided instead to buy half-yards of only the ones I had to have.

At first I tried to play it cool--and just added these to my "had to have" e-cart...

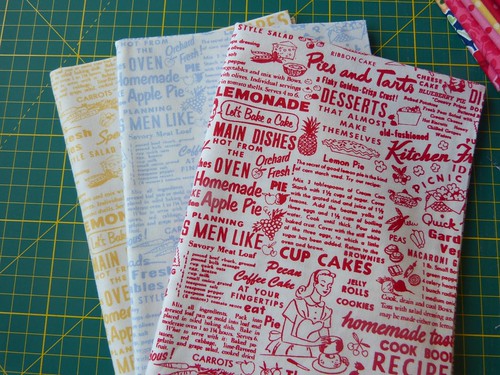
pam kitty text

...I think these are the cutest text fabrics I've ever seen. I need at least 10 more yards of it.

But anyway, then I started thinking, "I never have enough green" and "this pink is perfect" and "really, who expects me to live without these polka dots?" and "what's life if I can't have these florals?". I was giving my husband paranoid sideways glances while I continued to add and add to my cart while he had his face glued to the television.

P1010437

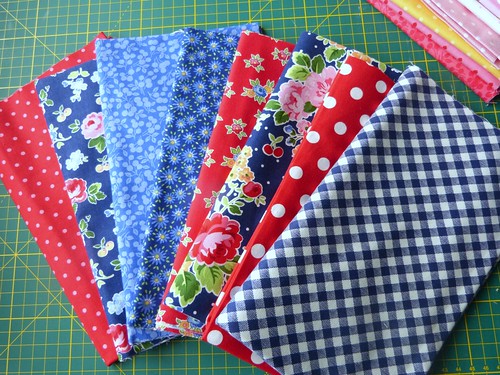
I got to the point where I had one eye closed so I couldn't see the side of the computer where the total was being calculated; but still I had to ask myself, "what if I wanted to make a patriotic quilt one day?"  It would be impossible without these...

Red white blue pam kitty

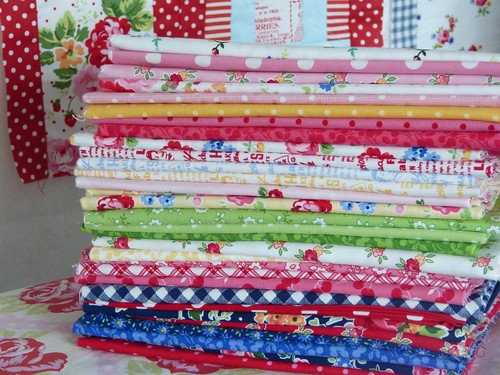
Anyway, when it was all said and done, I had purchased 30 (yes, I said 30) half-yards of Pam Kitty Picnic (and I didn't know that number until I just counted them for this post)! I get a stomach-ache just thinking about it. So I'm going to tell my husband that this is my Christmas present and I don't want anything else, but I hope he doesn't take me seriously ;)

pam kitty fabric

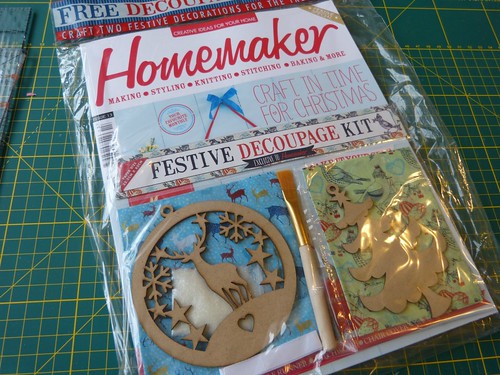
Also, if ANYONE is interested,  I bought a bunch of extra copies of some crafty UK magazines and am doing a little giveaway. I think it's going to win the world record for being the giveaway with the highest odds of winning because there's only 6 people that have entered, and one of them is my friend Joe who just entered to be nice.

So, if you're interested (and like great odds) click here. Or on the picture of the magazine.


homemaker magazine

Linking up at Mollie Sparkles for Sunday Stash.

Mini Church Quilt Tutorial


This tutorial is for a miniature version of the Church Quilt I made here. I started calling it a church quilt because I didn't know the name for this pattern and I took the original pictures in front of a church; however, I think the name really fits, because it's ALMOST like a cathedral window, except not as elaborate and doesn't take years to complete.


This miniature version finishes at 32" x 32" so it would be really perfect for a wall-hanging or table topper. 


To make this quilt I used a Quick Curve Ruler (QCR) that I purchased here. You will also need
13 - 8 1/2" squares of your print fabric
52 - 2" x 8 1/2" white rectangles
4 - 8 1/2" white squares 
2 - 6 1/4" white squares


To make the center diamonds, take one of your print 8 1/2" squares and lay your QCR across the bottom, lining it up with the 2 1/2" mark on the ruler. The left side should be on the 1 3/4" mark on the ruler (the top of the ruler) and the right should be on the 10 1/4" mark. The corners of your square should fall directly onto the arc cut-out on the ruler. 


Next, take your rotary blade and slowly follow the line of the arc all the way around until the end. Make sure to keep your ruler firmly held down or you could end up with a wonky diamond.


Once you have finished one side, rotate it around and line it up again with the bottom on the 2 1/2" mark, the left on the 1 3/4", and the right on the 10 1/4" and repeat again...


...until all four sides are done. Easy right?


Now we are going to cut out the frames for the diamond. Place a 2" x 8 1/2" white rectangle under the ruler and line the bottom up with the 3" horizontal line on the ruler. The left side should line up with the 1 3/4" mark and the right should line up with the 10 1/4" mark.


Cut along the arc again and now you have your first piece of the frame. Repeat until you have 4 (for one block). If you are comfortable with this, and you have a sharp blade on your rotary cutter you could cut 2 - 4 at a time. 


To sew them on your diamond, line the curve of the frame piece up with the concave curve of the diamond. Line it up at the corner, leaving a 1/4"of the diamond showing. You only need to worry about this point right now. 


Put it under your foot and slowly start to sew it with a 1/4" seam allowance while slowly pulling the two pieces together as they start to approach the foot. 


Continue slowly while you bring the pieces together. Jenny Pedigo has a great video tutorial here of how she sews the curves. 


Once that is done, sew another one on the opposite side.


Next you want to press the seams. When I made the original quilt I ironed them toward the color fabric, but for this tutorial I pressed them toward the frame so that the diamond appeared to be "beneath" the frame when you looked at the front. However, sewing towards the frame does create more bulk on the seams I noticed, and made it more difficult to pin later. So try it both ways, if you'd like, and see which way works for you.


After you have pressed the two sides, sew on the other two pieces of the frame to the opposite sides. 
Line the frame piece up a the corner of the curve leaving a 1/4" tip of the color fabric showing.


Again, sew slowly as you pull the pieces together as they approach the foot. Do this for the remaining two sides of your block.


Now that those pieces are all on, you need to square up your block to an 8" square.


I have a 8 1/2" ruler that I used for this, but any ruler would work that has at least one 8" side and you could use your cutting mat to help if you have inches on it. 

Lay the block under the ruler and align the point of the top right and lower right corners of the color fabric as close as possible to the 1/2" mark on the ruler as shown by the arrows in the picture below (but still make sure it meets the 8" mark all the way around). Sometimes it doesn't always work out perfectly but get as close as you can :) I had a few blocks that I had to throw away because occasionally it was still too far off to even make a 8" square so I cut a few extras as back-up. 


Repeat for all four sides.


And now you've completed your first block!


Now make 12 more, and you'll have a baker's dozen of the prettiest little church window blocks.

Lay them out how you want them arranged with 3 blocks on the 1st, 3rd and 5th rows, and 2 on the 2nd and 4th rows.


Now we're going to fill it in with edges. 

Cut all your 6 1/4" and 8 1/2" blocks diagonally.


Lay out the 4 - 6 1/4" half-square triangles for the four corners and use the 8 - 8 1/2" half-square triangles to fill in the sides. 


We are going to sew them into diagonal rows so take a picture to remember your arrangement if you can't sew them together right away. 

We're going to start with the diagonal row that is circled in the pic below.


First grab and sew right sides together the two blocks indicated by the arrows below. 


Line up the straight sides and leave the ends hanging over the end when you sew them together.


Next sew on the other half-square triangle in the row to the other side. 


After that row is together, press seams open trim the tips that are showing.

And while we are talking about the overhang, I was generous with the measurements on the triangles to leave room for error, but don't worry, we're going to square it all up in the end. 


Now, sew the corner onto the diagonal row you just completed...


...lining it up with center block and leaving at least a 1/4" overhang from the corner triangle over the diagonal row. 


Press open and trim the ends again.

Repeat for all the diagonal rows.


Then start sewing them all together, matching and pinning at the seams.


(I wish I had taken a picture of it when it was all together before squaring it up but I guess I didn't, but if you're still with me then congratulations...you're almost done!)

Once they are all together, and it's all nice and pressed you can start squaring it up.

What you want to do is lay your ruler along one side and align the 1/4" mark on your ruler with the intersecting seam of the blocks as shown two pics below.


Measure 1/4" from the intersection indicated by the blue arrow, keeping your ruler inline with the same point on two blocks (depending on the size of your ruler) and trim off excess. I hope this part is clear...please let me know if you need further clarification :)


Repeat for all four sides. After this, lay your ruler on the corners (lining up with top and the sides) to make sure it's a 90 degree angle. Make adjustments as necessary.


And now you're all done!!


Mine is going in my "things that need to be quilted pile" but I hope you enjoyed this tutorial and finish yours up. If you discover any problems with the instructions or have any further questions please let me know. I'm happy to help : )