


8 - 3" x 5 1/2" white rectangles
8 - 2" x 13" white rectangles
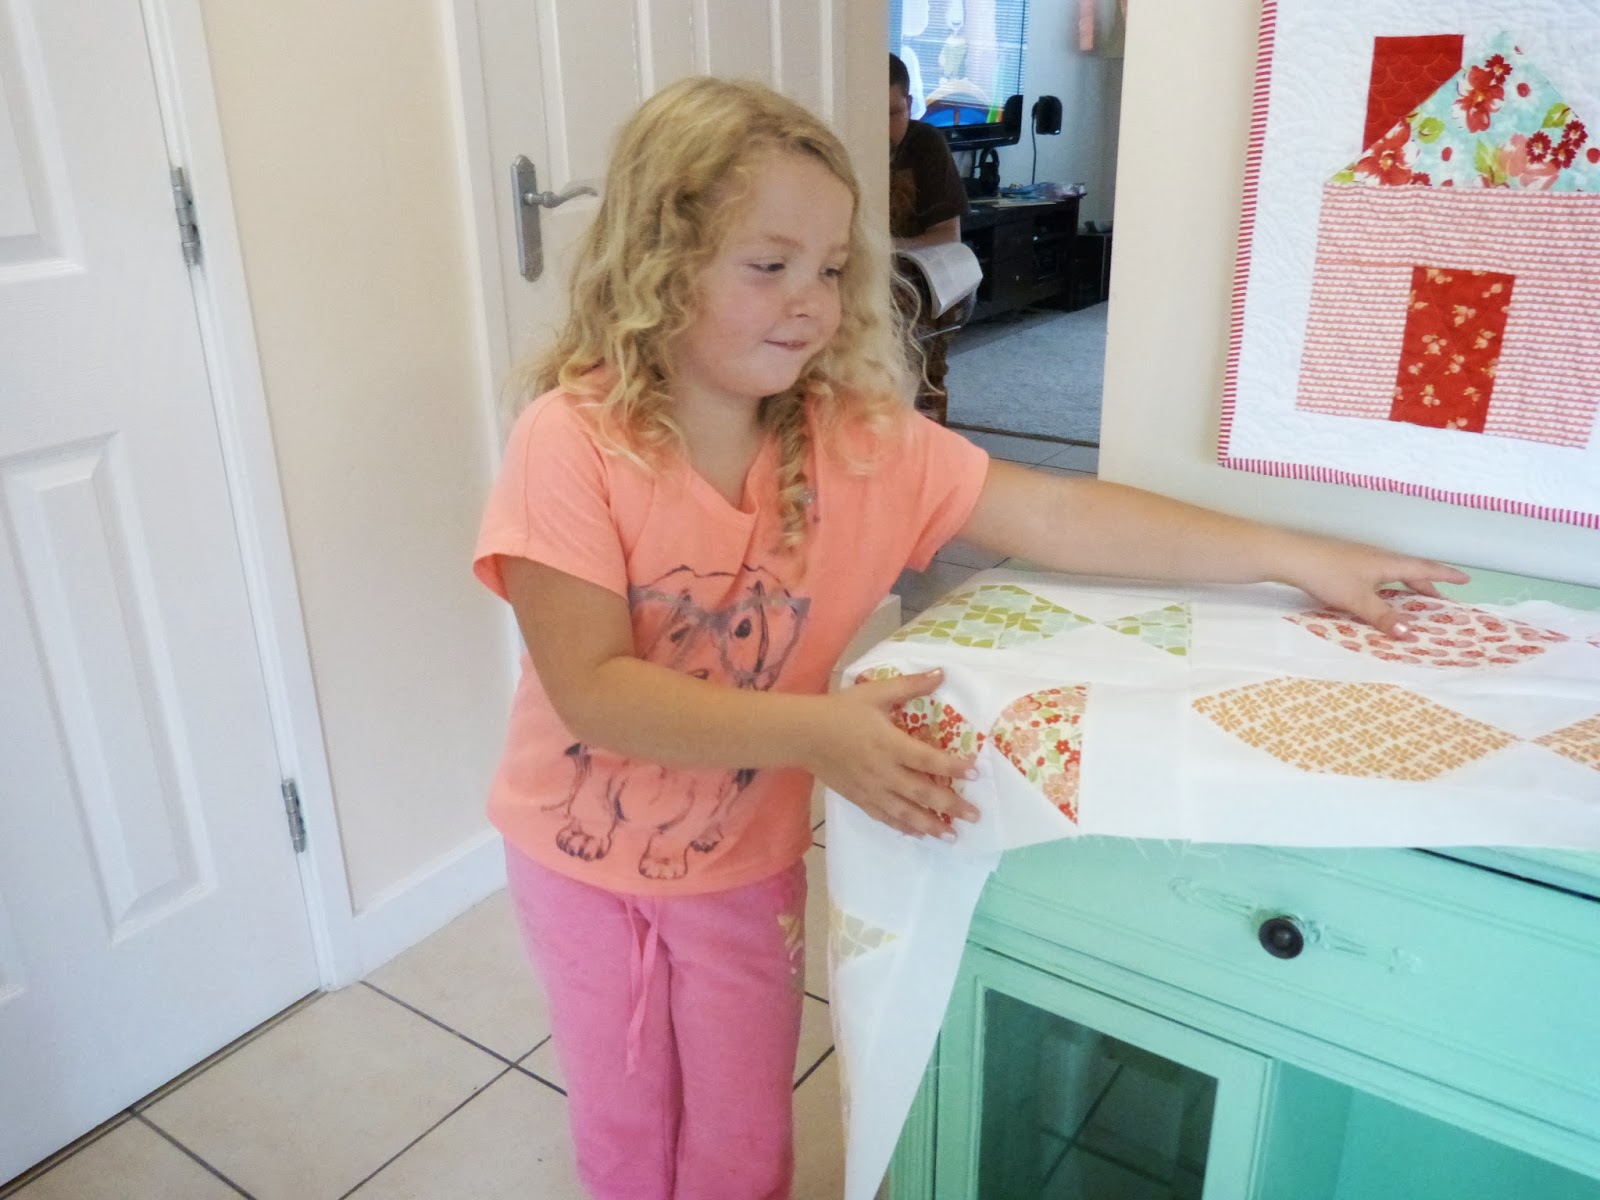
Lay your fish blocks out in two rows of 4 fish each--one on top of the other. Arrange them how you'll want them in the quilt.

I also created some layout diagrams in the Threadbias quilt design tool to make up for whatever my pics may lack.

Now that your fish blocks are laid out we are going to use this guide--made up of rows and columns--to add your new pieces. Don't get discouraged--it's easier than it seems!

We'll start with ROW 1--the top row of fish.
Sew a 3" x 5 1/2" white rectangle to the front or "nose" of each of the 4 fish on the top row.


Now sew a 3" X 5 1/2" white rectangle to the tail-end of each of the 4 fish on the bottom row.

Your fish should look like this so far


Now we are going to work on the columns
Sew a 2" x "13 rectangle to the top of each of the fish in columns A and C and to the bottom of each of the fish in rows B and D

Now start sewing the columns together (one fish on top of the other from each row)

Then sew them all together

And you are all done with the second part...next week we'll be working on the water row!
No comments:
Post a Comment
I love and appreciate all comments, and will respond to you as soon as I can:) If you are a no-reply blogger, please leave an email address so I can write you back.
XOXO Cristina