photo q1_zpscd9da648.png  photo dot_zpsb8876eec.png  photo q2_zps95da3dae.png  photo dot_zpsb8876eec.png  photo q3_zps747c53f9.png  photo dot_zpsb8876eec.png  photo q6_zps32c3ba5d.png  photo dot_zpsb8876eec.png  photo q4_zpse6214d9c.png  photo dot_zpsb8876eec.png  photo q5_zps8a7bdd1d.png

Sunday 27 April 2014

Stopping to Smell the Lilacs

Lone Star
Photo by London Tepsick

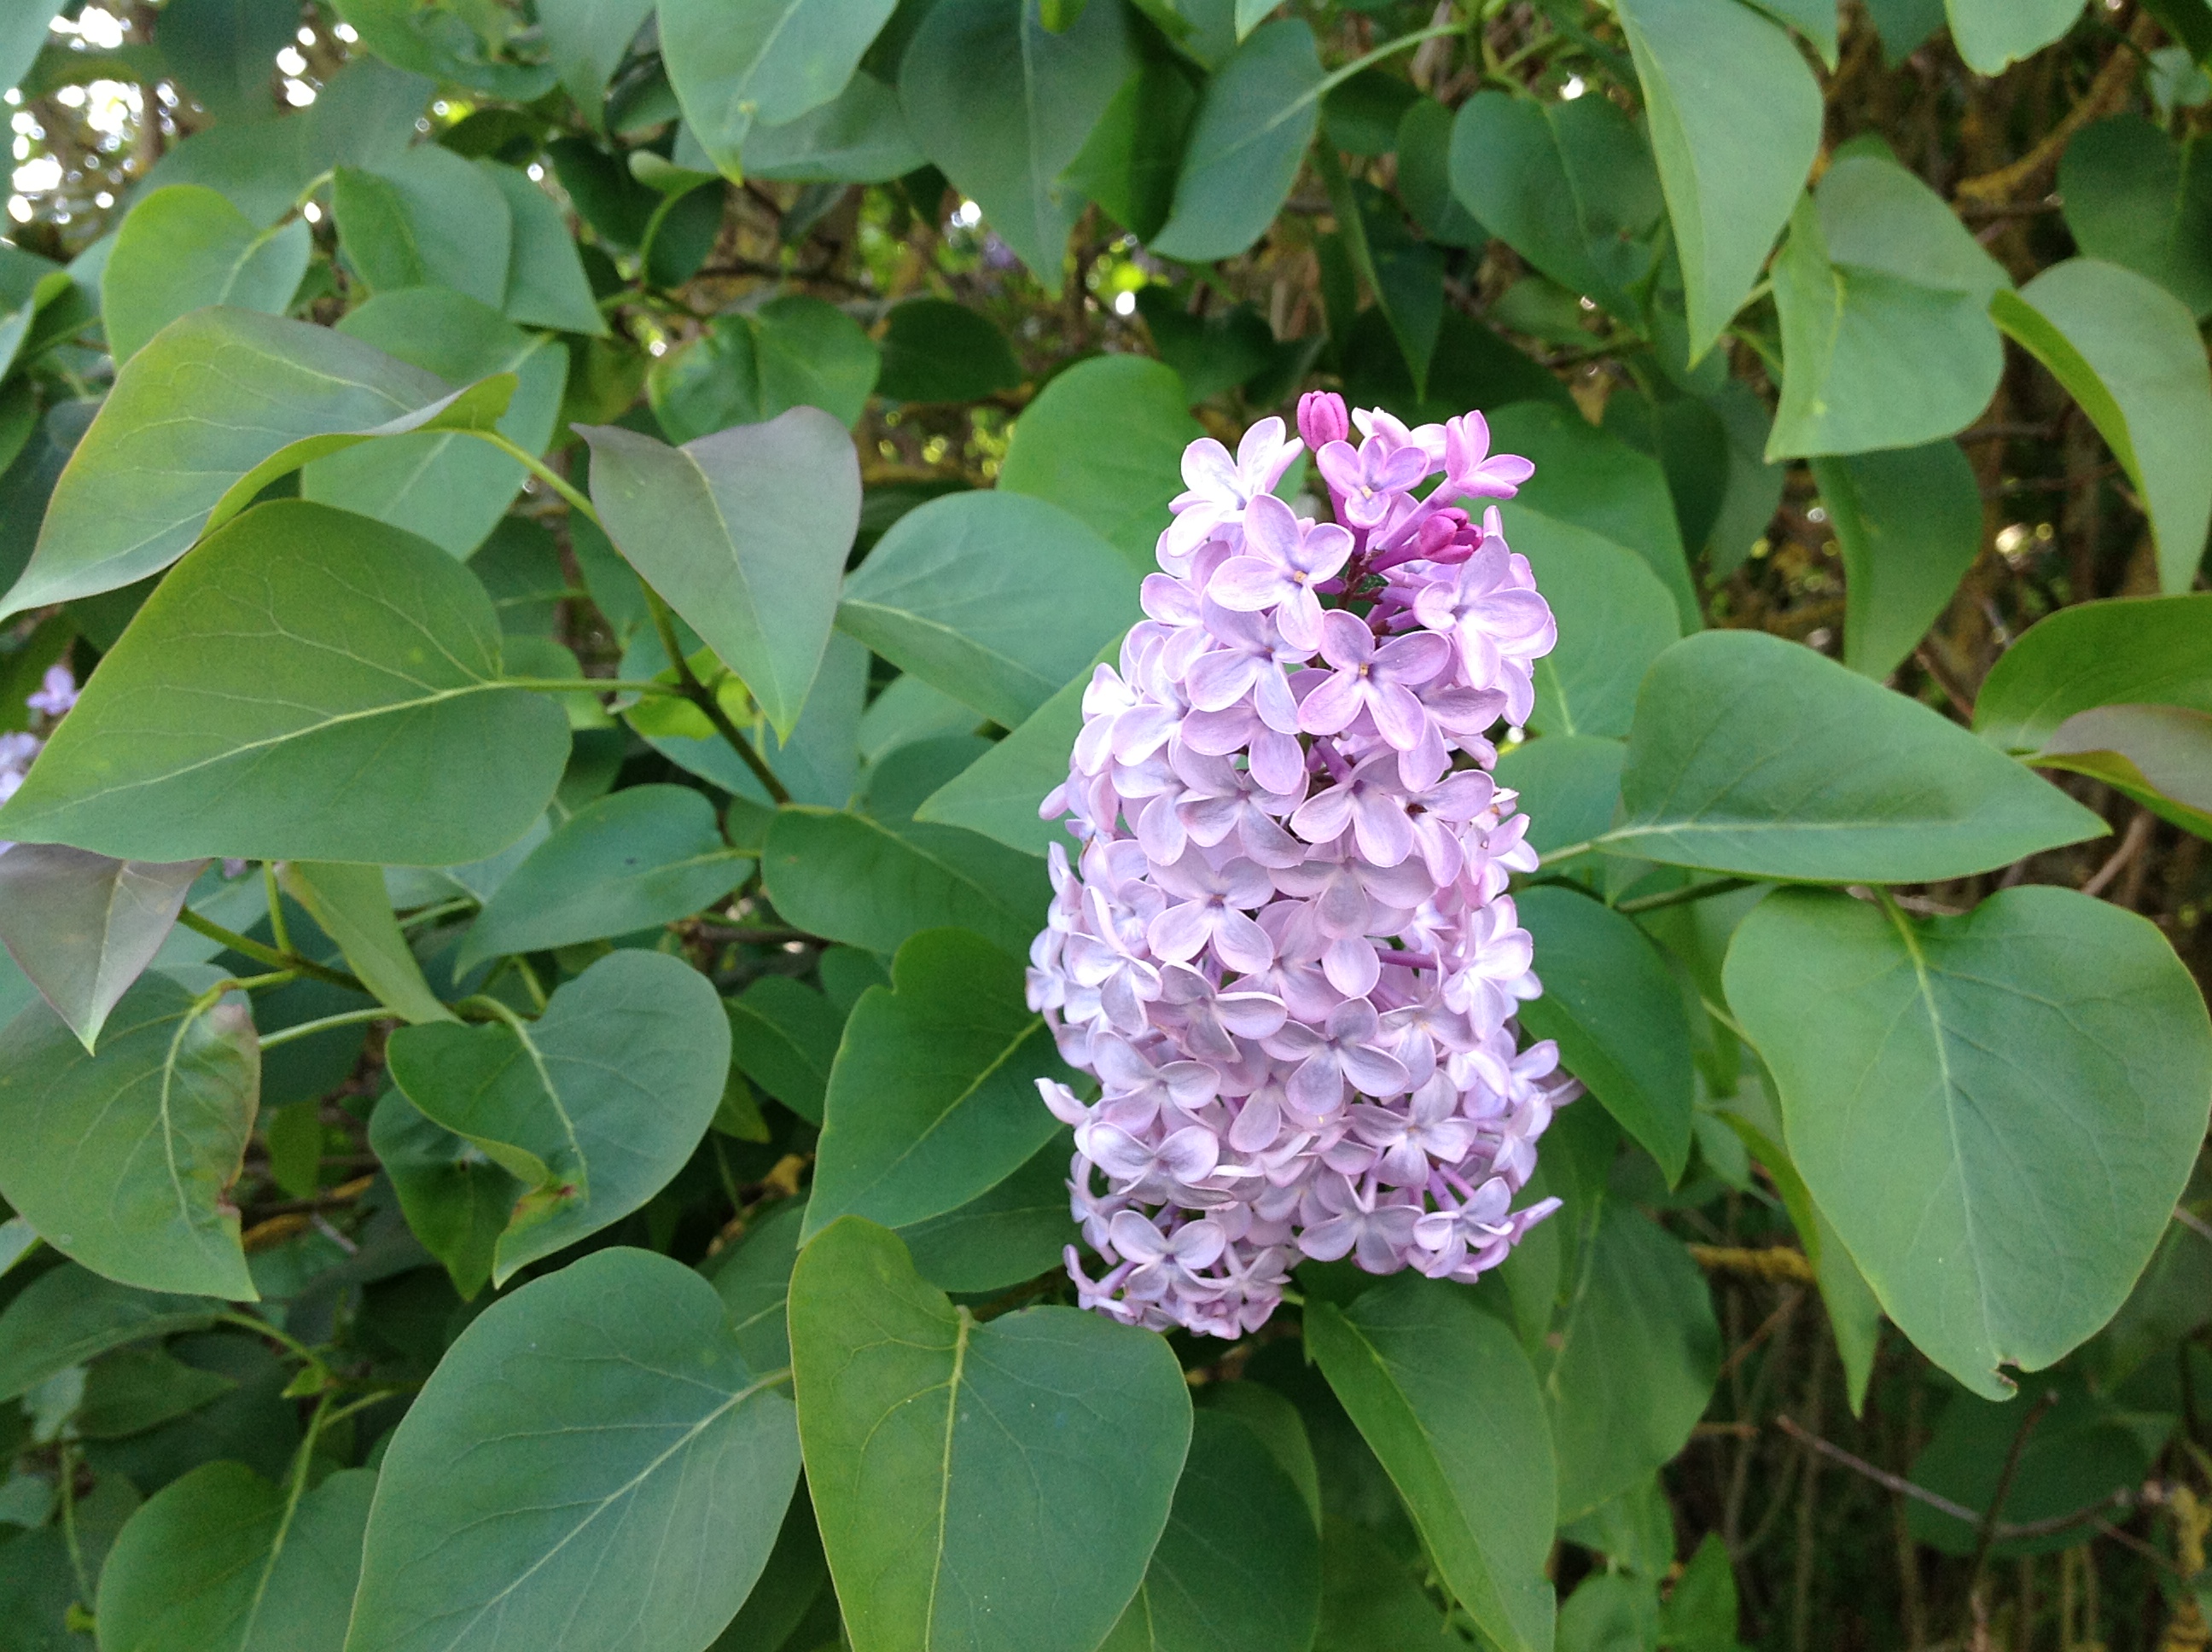
Today was absolutely perfect. This past week was really rough on me, and by the time Friday rolled around I was over-stressed and half-crazy. So on Saturday I forced myself to lie around and do nothing. Even when I had the overwhelming urge to get up and clean or sew I didn't do it. I snuggled on the couch with my kids, watched movies, and even took a nap. This morning I woke up completely revived, and when I stepped outside everything was perfect--the sun was shining, the birds were chirping and the smell of lilac was in the air. I know this is cheesy, but I'm not even kidding.


photo (9)
Photo by London Tepsick


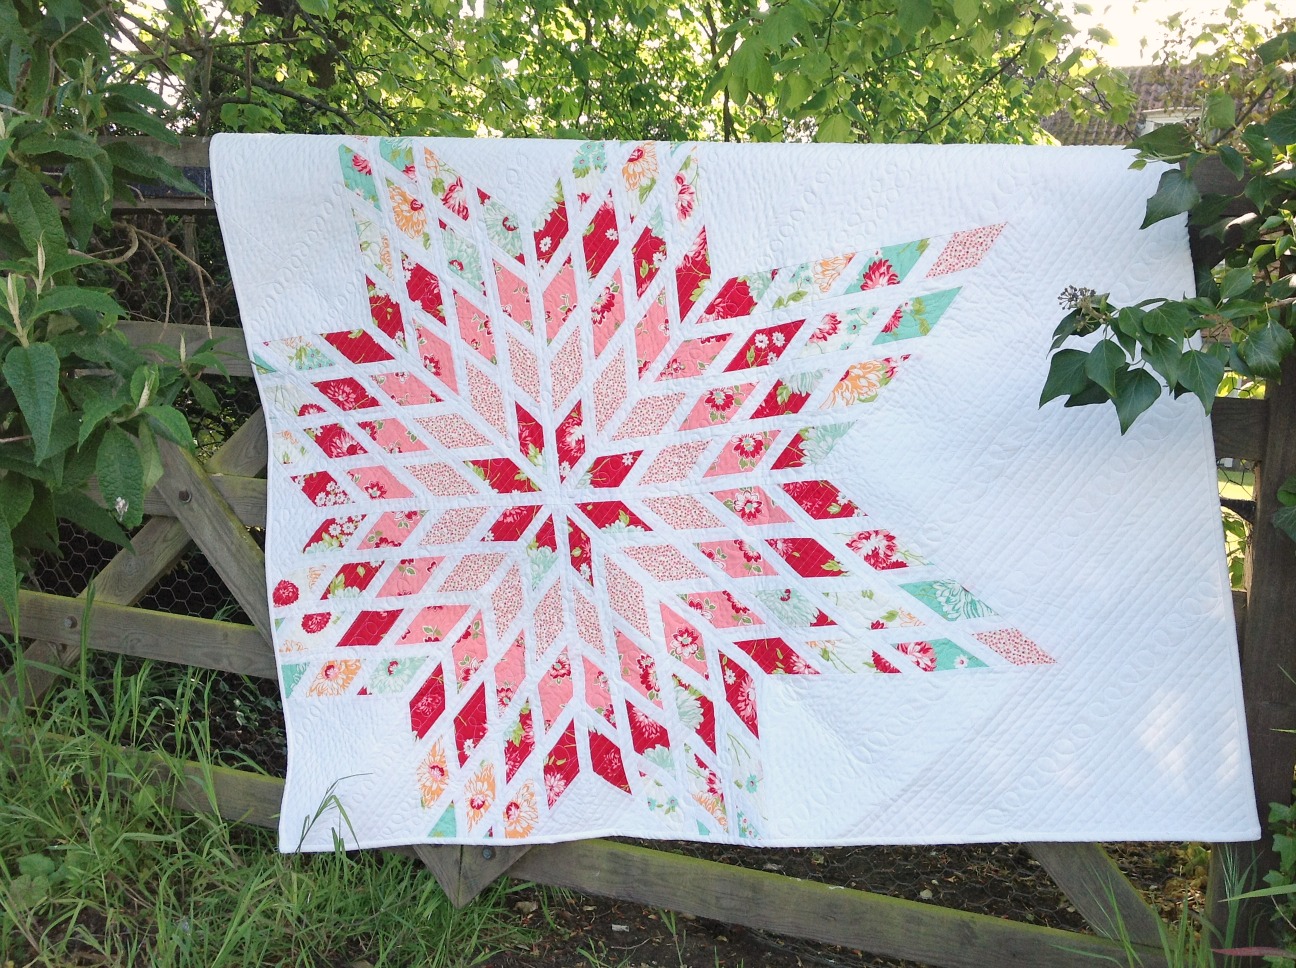
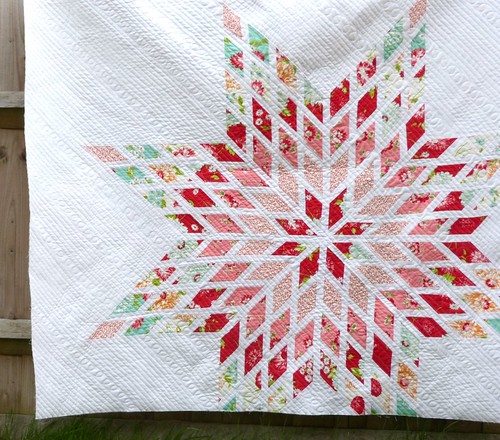
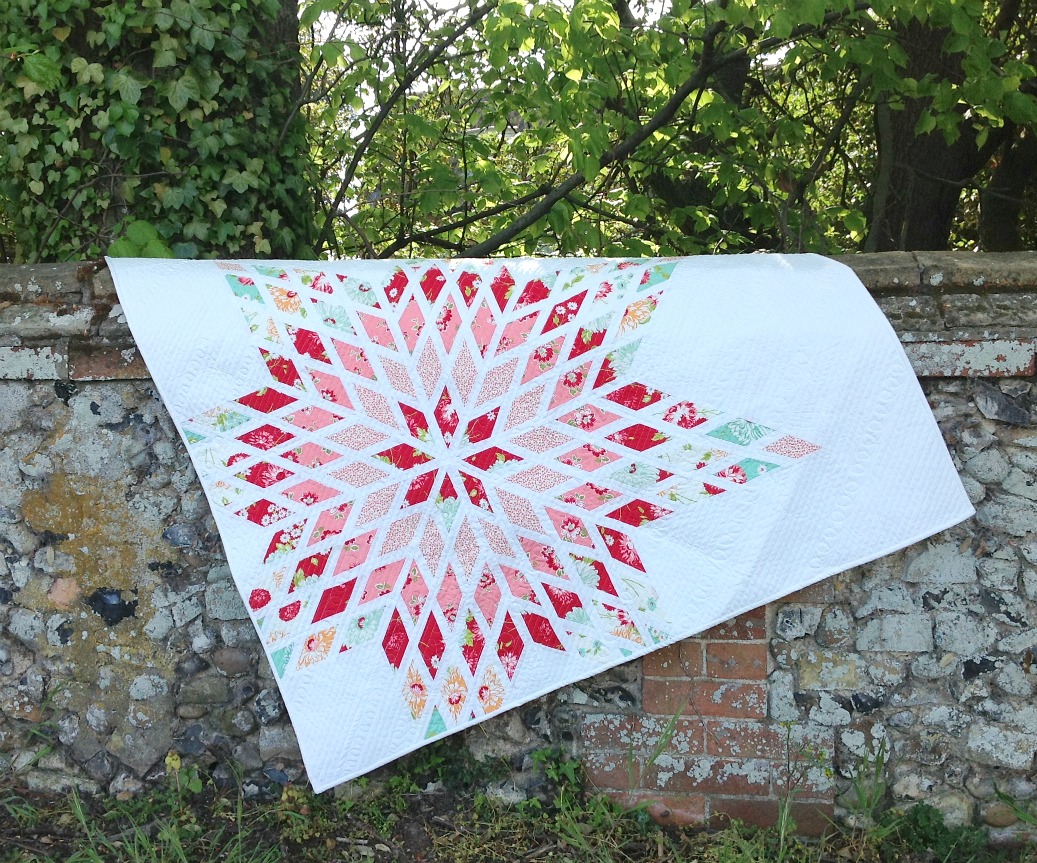
I had been meaning to take some pictures of my finished Exploding Lone Star quilt and today was the perfect day for it. I grabbed my camera and started out he door and my daughter asked if she could go with me. We drove around for awhile, then parked the car and just started walking. Everything was so pretty, the flowers were in bloom, and I felt like we were in the pages of  "The Secret Garden".


Lone Star
Photo by London Tepsick

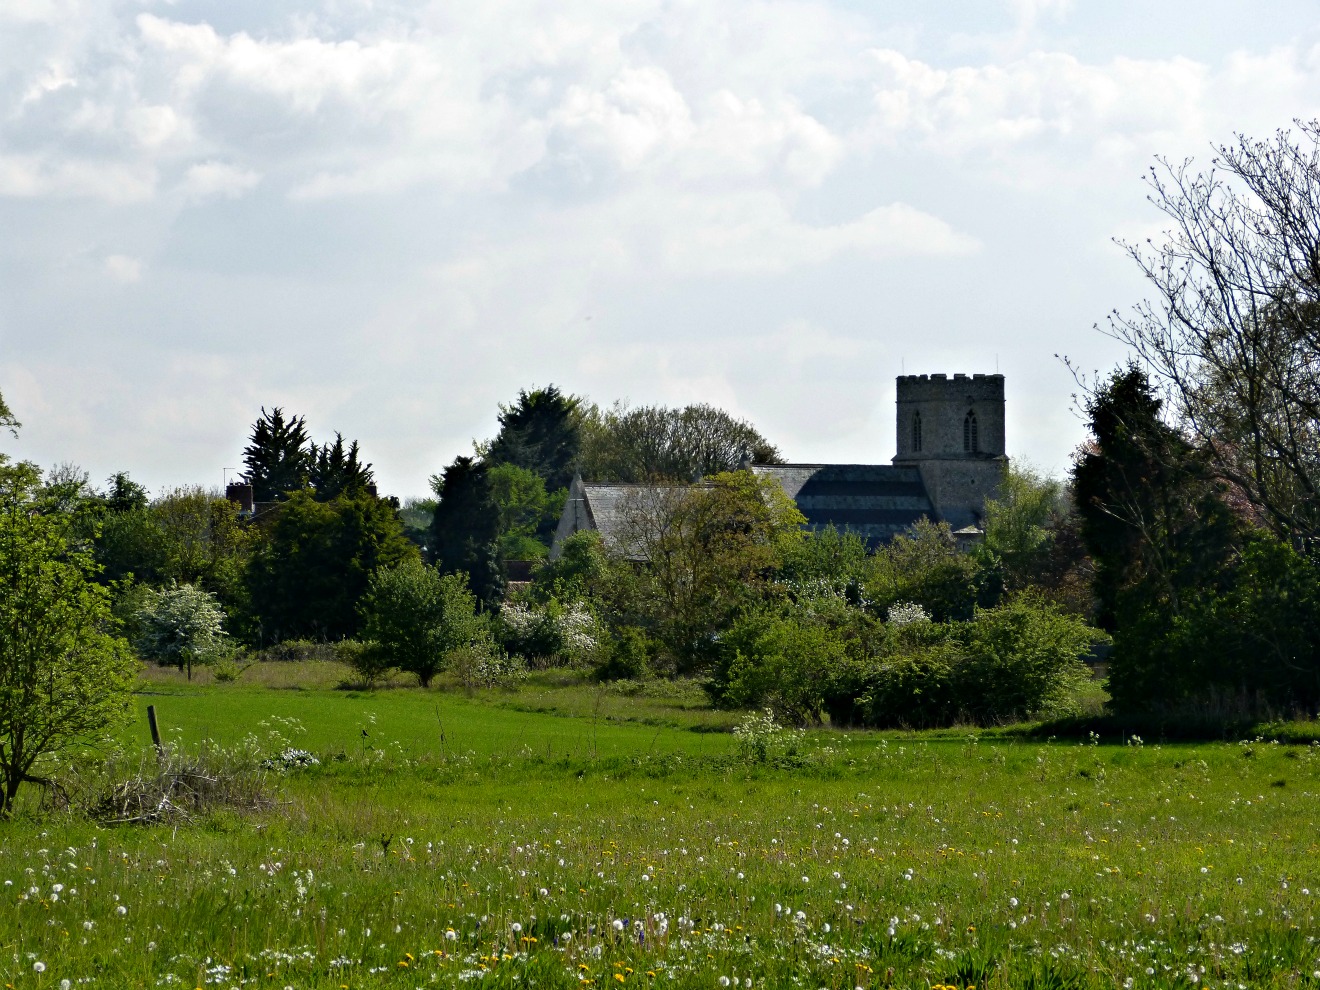
We walked around for a long time, both snapping photos and taking in the scenery. I was pleased by how much she liked taking the photos and was seriously impressed by how well she did--her pictures are all the ones above!!! 


P1020304


When we got home, we were both tired and covered in the dust we had stirred up on our walk, but we were completely content and happy.

There are some moments in life that are so stressful you wonder how you are ever going to make it through it, and then there are other moments that are so beautiful that you wonder how you could've ever been anything but happy. I hope you all have recently experienced the beautiful moments, and that you get to experience them often. 


Lone Star


Linking up to Needle and Thread Thursday at my Quilt Infatuation


Needle and Thread Thursday


and Finish it Up Friday at Crazy Mom Quilts


Saturday 19 April 2014

Texas Quilt Tutorial


Hi y'all!! First, I just want to say I am SO, SO sorry these pictures aren't that great. It has been an absolutely insane week, and today we have so much stuff going on that I didn't have time to take great pictures, but I wanted to get this "how-to" up on my blog. I had to make a choice...blog about nothing, or get something off my to-do list (that I've been meaning to do for several weeks!). I'm very sorry! But I promise, I will take better photos once it's all quilted. 

This quilt was inspired by (I bet you can't guess) Texas!! My mom will be visiting from Texas in the summer and I got the crazy idea to make a Texas quilt to hang on my wall--to show her how much I missed home, I guess. This quilt is not exactly original--after a google image search, I came across this quilt, and wanted to make one of my own. I don't have permission to use the original image so I'm going to show you how I broke it down with my quilt.  I stared at that original image for a long time to try to figure out how to make it and this is what I came up with. 

To do the same thing I did, you'll need to print the image of the Texas quilt above or use the pattern at the very bottom of the tutorial. 

I noticed that Texas could be divided into 4 quadrants so I drew lines to section it off. Then I just worked on one quadrant at a time.


For this "how-to" I'll be showing you with the top-left quadrant. 


I noticed that the quilt in the original photo wasn't as random as I originally thought, and it could be divided into distinct rectangle blocks in each section. So I just drew out the sections (rectangles) into sizes I thought were manageable (see pic below). I hope this is making sense.


After that, I just made one block at a time and this is how I did it..

(let's take a closer look at the block below with the arrow)


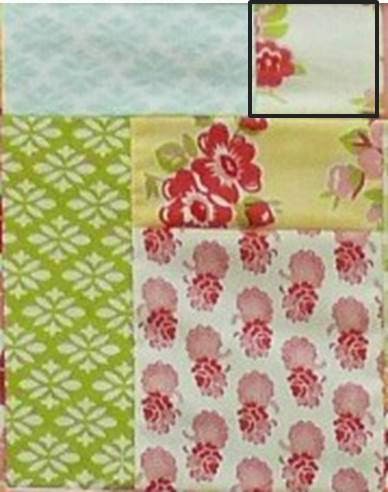
Here is a close-up of the block:


I knew from looking at the original image that if you looked at the tiniest square  in the rectangle, you can use that as a basis for how big each section/block should be. I decided my smallest square would be 2.5". 

If you took that square and used it as a basis for a grid, each block could be made of multiples of the 2.5" square.


I used mind's eye to see how many 2.5" squares it would be across and down.
As you can see above, it's 3 squares across and 4 down.

Take a look again without the lines...can you see it's 3 x 4 by just using the small block in the upper right corner as your basic building block?


I then just used quilting multiplication to make a block made up of multiples of 2.5" that equaled 3 "squares" across and 4 down. After I knew that, it was mostly improvised patchwork.


After I got the hang of it, it went really fast. I sewed the blocks together as I made them (so I didn't have blocks lying all over the place that I had to worry about labeling) and I was able to complete a quadrant in the matter of a couple of hours. 

When I got to the sections on the edges of Texas with the white, I just incorporated the white into my blocks. 

You can see how it is broken down here (this is the bottom left side of the quilt):


For the larger sections of white space I used the same method.  I would just imagine the grid on the picture again, and count how many 2.5" squares across and down to cut my large white pieces (notice them in the pic below). 

To assemble the quilt, I sewed two quadrants together to make a half, did the same thing to the other side, and sewed the two halves together. I added a 3" white border around all sides of my quilt. 

This quilt finishes at around 68.5" x 67"


I created the image below in the Threadbias design tool to help you if you don't want to use the pic above. 

And if you are uncomfortable with the math, the most common size blocks I used in the quilt were

2.5" squares
2.5" x 4.5" rectangles
4.5" squares
2.5" x 6.5" rectangles
4.5" x 6.5" rectangles


I hope that this tutorial inspires you to make your own Texas quilt, and please, please, don't be intimidated to try it. It's a lot easier than I probably made it out to be, and it's actually a lot of fun because you can make each section as easy or as hard as you want, depending on what size blocks you use. It would go super fast if you used a jelly roll or two. If you have any problems or need any help, please don't hesitate to comment or send me an email. 

I hope you guys have a wonderful Easter!!!


Saturday 5 April 2014

Exploding Lone Star

Exploding Lone Star

Good morning everyone. First off, I would just like to say "THANK YOU" to everyone who reads this blog and listens to my long-winded stories. You don't know know how much your support and encouragement means to me. I know my quilts aren't perfect, so thank you so much for your interest in what I do.

I'm not going to torture you with a long-winded story today (but it was my original plan!). I just wanted to show you some progress I've made on a recent creation--the Exploding Star. I got the inspiration for this from a pic I saw on instagram and then the idea of making it consumed me. I think I started this over a month ago, but it took so long to get to this point that it put me behind on several projects I should have already finished (sorry Audrey!).

When I put this star together the FIRST TIME, it would not lie flat...the more pieces, ironing and handling will really start to distort your star. The center  had a "hump" and I had intended to completely start over but I didn't want to waste all the fabric. I took it apart, "fixed" the angles, and reassembled it. I am SO happy I did.


exploding star quilt


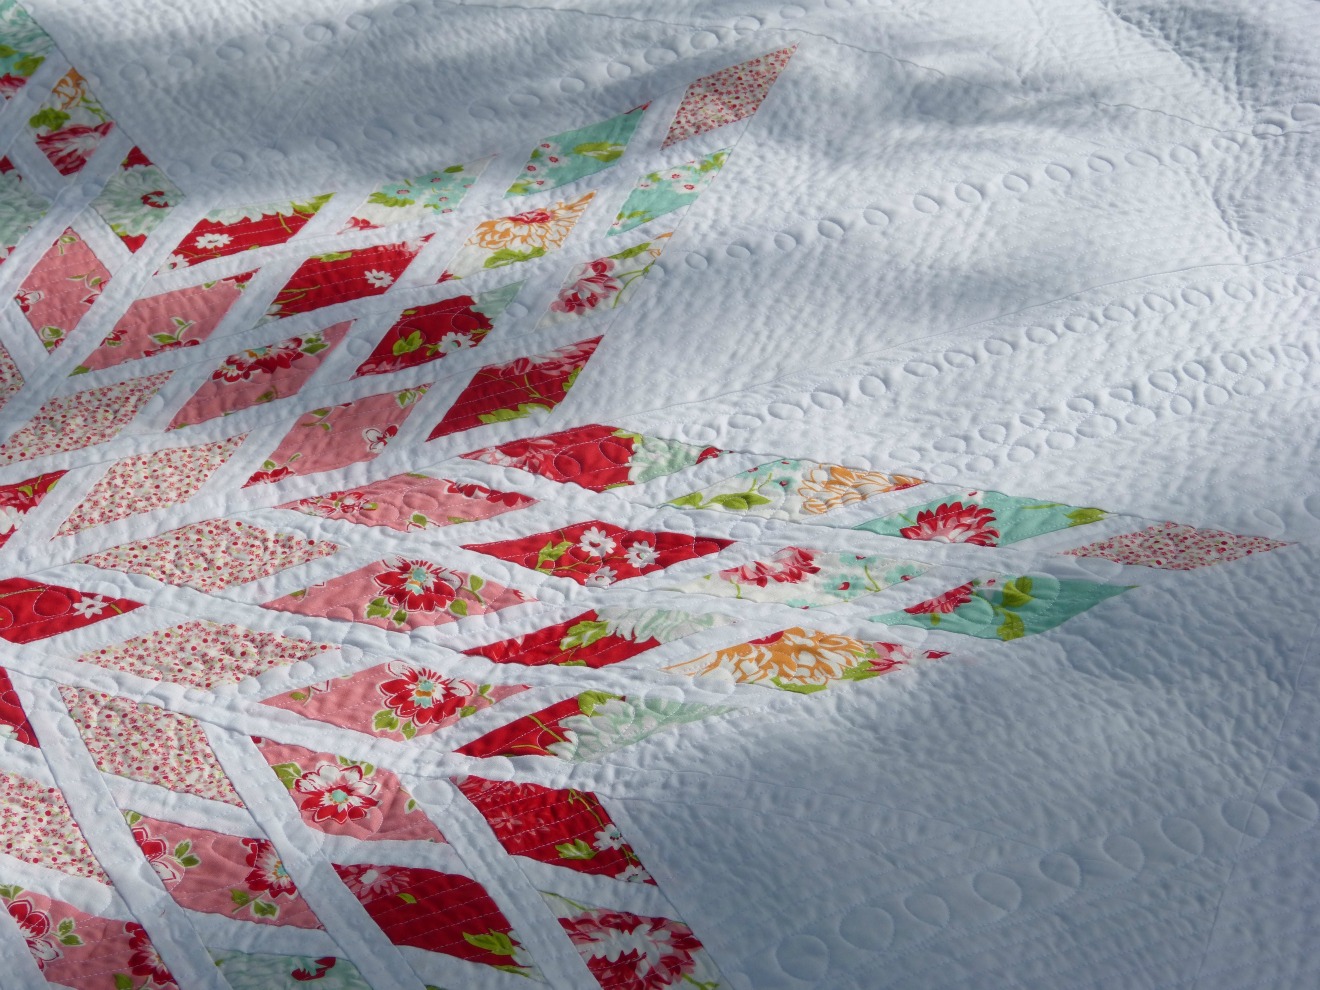
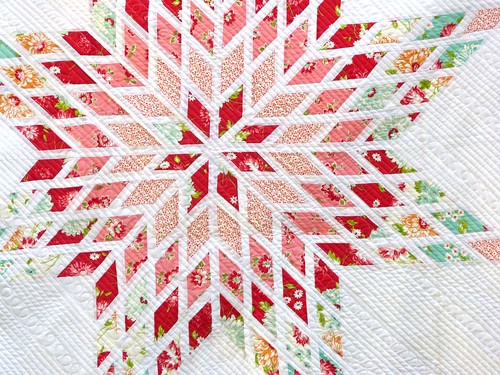
I quilted it in diagonal straight lines, and occasionally added a row of loops. I like how it looks around the star, but now I wish I would've done something different inside the star. And I still haven't decided on what binding to use...I want to hang this in the living room and I'm not sure I want anything colorful around the edges to draw the eye away from the star.

I have had several people ask how I made this, so my plan is to write a tutorial as soon as I get caught up on a few other projects. I feel like this star was a huge undertaking in the beginning (when I wasn't sure what do to), but after remaking it twice I don't have any inhibitions about making another one and showing others the process. I'm actually really looking forward to it.


Close up of Lone star quilting


Anyway, thank you again and I hope you have a great week!


Linking up with Fabric Tuesday on Quilt Story!!